

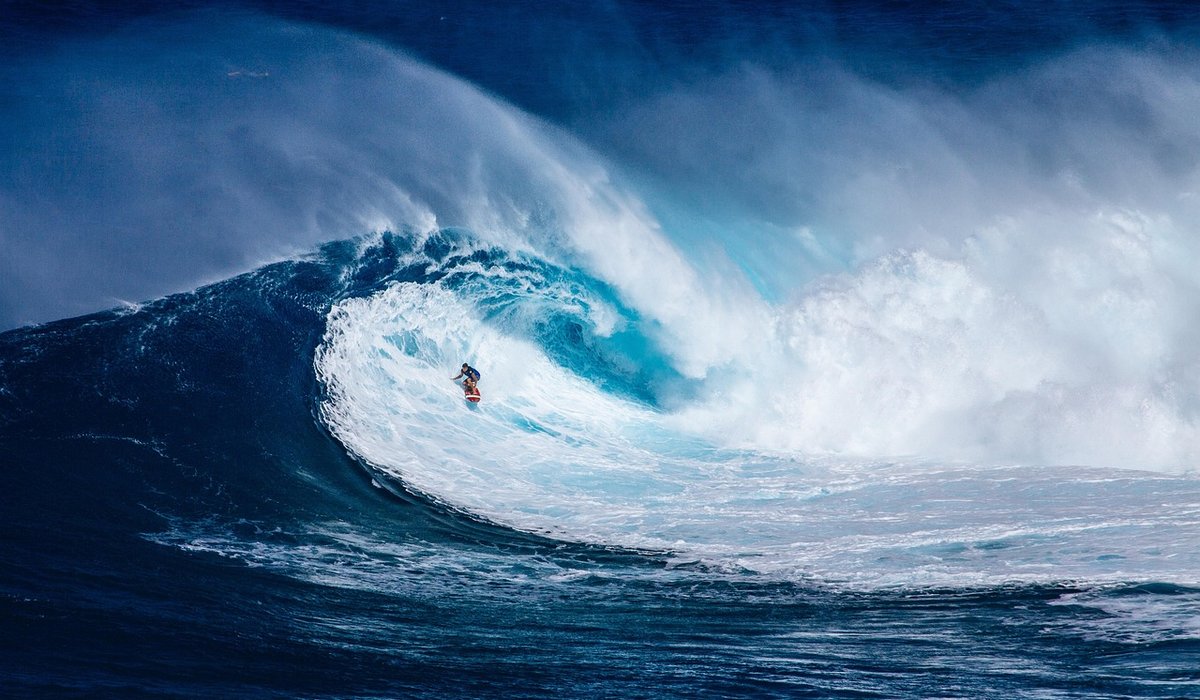
Read the Forecast Before You Pack the Camera
Good surf photographs begin long before you reach the clifftop. The best shots come from knowing what the sea is going to do, and UK forecasting gives you plenty to work with if you learn to read it. Swell height tells you how big the waves are, but swell period is the number that matters most for photography. A long-period groundswell of twelve seconds or more, arriving from a distant Atlantic low, will produce clean, well-spaced lines that are far easier to photograph than the short, choppy five-second windswell that dominates our summer months.
Wind direction decides whether those lines will be groomed or shredded. An offshore breeze, blowing from the land out to sea, holds the wave face upright and throws spray backwards in dramatic arcs. Onshore wind flattens everything into mush. Check the forecast for the hours either side of your visit, not just the moment you plan to shoot, because UK conditions can switch within a single tide.
- Period: longer gaps between waves mean cleaner, more photogenic lines.
- Wind: light offshore is your friend; strong onshore rarely rewards the effort.
- Tide: many British reefs and points only work on a mid or pushing tide, and a falling tide can leave you stranded on a beach below the cliffs.
Timing, Tide and British Light
Light is the other half of the forecast. The hour after sunrise and the hour before sunset give you low, warm light that rakes across the wave face and picks out every droplet of spray. On the west coast of Cornwall, Wales, Scotland and Ireland, that often means shooting into a glowing sun, which produces silhouettes and backlit spray rather than detail. It is a wonderful look, but expose for the highlights and let the surfer go dark.
Do not dismiss the grey days. Britain's overcast skies are a softbox, and the flat, even light of a drizzly autumn morning is often perfect for close-up action, when you want texture in the wetsuit and water rather than dramatic contrast. Midday summer sun is the hardest to work with, so save those hours for swimming, not shooting. Sea fret and drizzle can add atmosphere, and a misty morning line-up is one of the most distinctive images our coastline offers.
Choosing Your Kit: Phone or Camera
A modern phone in a proper waterproof pouch will genuinely get you decent shore shots, particularly if you shoot in bright conditions and keep the lens clean. The limitations are real though: optical zoom is thin, burst rates are modest, and salt spray on the lens ruins more frames than bad timing.
If you use a camera, a waterproof housing is worth the outlay if you plan to shoot from the water. On land, a simple rain cover and a dry bag will do. Whatever you carry, think about fogging and salt:
- Silica gel packs inside the housing absorb moisture and stop the lens misting when the temperature drops.
- Rinse everything in fresh water after a session, then dry it thoroughly before you seal it again.
- Carry spare batteries in an inside pocket; cold coastal air drains them faster than you expect.
- A microfibre cloth in a zip pocket, because you will need it every five minutes.
Settings That Freeze the Action
Water moves fast and spray moves faster. Use shutter priority or manual mode and aim for 1/1000 second or faster to freeze a surfer mid-turn. If the light is poor, push the ISO up to 800 or 1600 rather than dropping your shutter speed, and worry about noise later. Grainy and sharp beats smooth and blurred every time.
Switch to continuous or burst mode and hold the shutter through the turn rather than trying to catch a single moment. Continuous autofocus works well on a surfer coming towards you, but for a breaking wave it is often easier to pre-focus manually on the peak and wait. An aperture around f/5.6 to f/8 gives you a bit of depth of field without demanding too much light, and it keeps the whole wave face reasonably sharp.
Composition From the Shore
Get low. Kneeling at the waterline changes the wave from a distant lump into a wall of moving water, and it puts the surfer against the sky rather than against a grey sea. Include something that tells the viewer where they are: a lighthouse, a harbour wall, a row of whitewashed cottages, the dark bulk of a headland. Those landmarks are what turn a decent action shot into a photograph of a place.
Leave space in the direction the surfer is travelling, keep the horizon level, and use wet foreground rocks to add depth. Sequences work beautifully from the shore, so shoot a whole ride and choose the frames later rather than chasing one perfect image. Around the action, look for the quieter moments: a wetsuit pulled down to the waist, a board being waxed, steam rising off a hot drink. These are the shots that sell the day.
Staying Safe and Keeping Gear Alive
Never turn your back on the sea. Sneaker waves sweep photographers off rocks every year, and a tripod on wet stone is a hazard rather than a support. Check tide times so you are not cut off below the cliffs, stay well back from crumbling edges, and wear something with grip. If a break is busy, shoot from the beach rather than paddling into the line-up, and keep out of the surfers' way.
After the session, rinse your housing or pouch in fresh water, dry it with a towel, and store it open so air can circulate. Salt is patient and it will find every seal. Look after your kit and it will look after you through many more winters on the coast.


Coding is used in almost all aspects of life and work now, be it directly or indirectly. It’s not just for companies in the tech sector. “An increasing number of businesses rely on computer code,
Coding is used in almost all aspects of life and work now, be it directly or indirectly. It’s not just for companies in the tech sector. “An increasing number of businesses rely on computer code,
Coding is used in almost all aspects of life and work now, be it directly or indirectly. It’s not just for companies in the tech sector. “An increasing number of businesses rely on computer code,